


Garage doors are an excellent invention for providing storage space as well as some necessary security for your vehicle. With their numerous benefits, they have revolutionised property and become a favourite of many homeowners. Nonetheless, this door brings with it a slew of issues, one of which is repair. Although it may appear complicated, we are here to walk you through each step so you can do it yourself. However, you must first learn the fundamentals. The door and the opener are the two main components of a garage door. This guide will teach you everything you need to know about performing garage door repairs on each of these components. So, without further ado, let us get started.
Repair a Garage Door
Stay calm if your garage door stops working after a power outage. Every modern garage should have an emergency release kit, which is a system installed in your garage that allows you to open the door manually from the inside or outside. If you lose power and need to get out to drive to work or get in during a heavy rainstorm, you can use a few simple steps to successfully open your garage door.
Spring tension is used to operate overhead garage doors, whether they roll up in sections or swing up in one piece. The door moves along metal tracks on the garage walls, powered by a heavy spring or springs. Repairs are usually fairly simple when the door does not work easily. Here are some handy repair hints:
Step 1: Examine the metal tracks inside the garage. Examine the mounting brackets that secure the tracks to the walls. Tighten the bolts or screws at the brackets if they’re loose. Examine the tracks from inside the garage with the garage door closed for dents, crimps, or flat spots. If there are any damaged areas, pound them out with a rubber mallet or a hammer and a block of scrap wood. If the tracks are severely damaged, they should be replaced.
Step 2: Use a level to ensure the tracks are properly aligned. Horizontal tracks should slant slightly down toward the back of the garage; with roll-up doors, vertical sections of track should be perfectly plumb. On the garage walls, both tracks must be the same height. If the tracks are not properly aligned, loosen but do not remove the screws or bolts that hold the mounting brackets in place, and carefully tap the tracks into place. Check the tracks with a level to ensure they’re level, then tighten the screws or bolts at the mounting brackets.
Step 3: Use a concentrated household cleaner to remove dirt and hardened grease from the tracks. Clean the rollers thoroughly, and then dry both the tracks and the rollers.
Step 4: Inspect and tighten any loose hardware. Check the plates where the spring is mounted on swing-up doors to ensure the screws are tight, and tighten any loose screws. Check the hinges that hold the sections of the door together on roll-up doors; tighten any loose screws and replace any damaged hinges. The hinges are frequently serviced to correct sagging on one side of the door.
If a screw hole is enlarged, replace it with a longer screw of the same diameter and a hollow fibre plug dipped in carpenters’ glue. If the wood is cracked at a hinge, remove it and use wood filler to fill the cracks and screw holes. Allow the filler to dry before replacing the hinge. If at all possible, relocate the hinge to solid wood.


Garage Door Opener Replacement
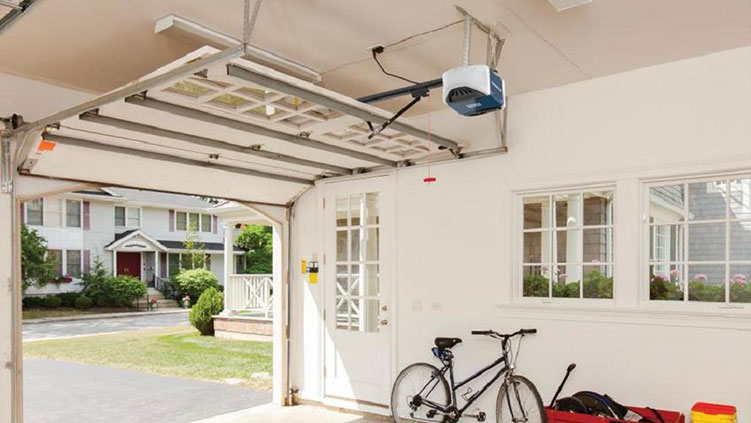
A garage door opener is one of the most useful home appliances you can have installed. And you can do it yourself if you follow these general instructions as well as the specific instructions that come with the unit.
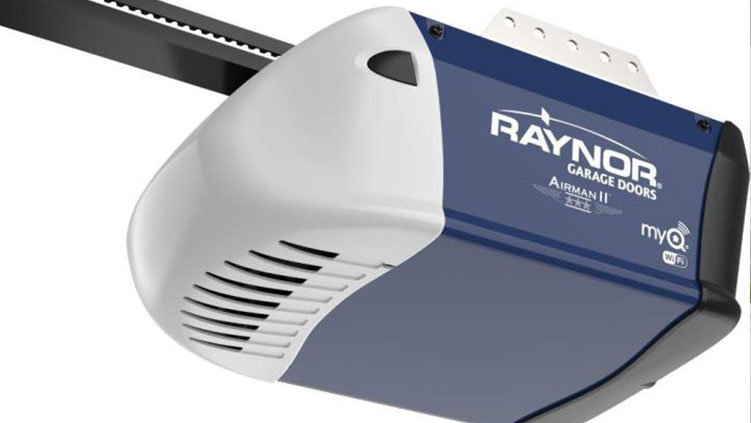
A reversible motor drives a carriage along a rail above the door in a typical garage door opener. A drawbar attached to the carriage moves the door between open and closed positions, with travel-limiting devices stopping the door’s movement precisely at fully open and fully closed positions. A relay, also known as a reversing switch, changes the direction of drive from opening to closing and back again.
The radio receiver in most modern garage door openers allows you to open the door by sending a signal from an electronic module in your car.
Here’s how to put a garage door opener in place:
Step 1: Install the mechanism in the centre of the door. To determine the location, measure the width of the garage door with a tape measure. The centre is half this distance away. Draw a short vertical line down the centre of the door from the inside, toward the top. The door weight will be evenly balanced at the lifting point if the drawbar (the mechanism for raising and lowering the door) is attached at this line.
Step 2: Raise and lower the door while keeping an eye on the top point of its travel. Mark this location because the opener must be mounted so that the rail is higher than the door’s travel peak. Otherwise, as the door opens, it may collide with the rail.
Step 3: Examine the area directly above the garage door at your vertical dividing line; there should be a support suitable for attaching the front end of the rail there. Install a front mounting board if your garage lacks a structural member in that location. Center and secure a length of 2 X 6-inch plank across two wall studs over your mark of highest door travel with lag screws.
Step 4: Attach the rail to the motor unit on the garage floor, as directed in the kit instructions. Lift and fasten the outermost end of the rail to the front mounting plank at a location about two inches above the intersecting marks you made for your garage door’s high point and centre line, with the garage door down. Lag screws are typically used to secure the rail bracket to the front mounting plank. However, if bolts and nuts are provided, you must drill appropriate holes through the front mounting plank. Use washers under the bolt heads to prevent them from pressing into the wood
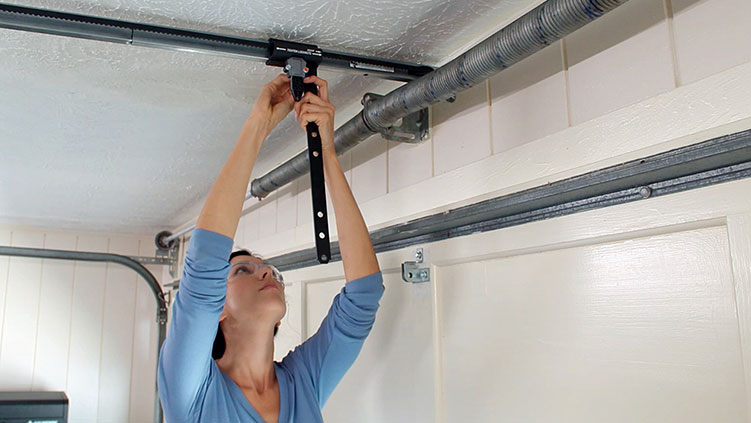
Step 5: Raise the motor assembly until the rail is horizontal or parallel with the door track. Raise and lower the garage door by hand while holding or supporting the motor assembly in this position to ensure that the rail location does not interfere with the door’s movement. Once you’ve determined the proper position and height for the motor assembly, secure it to the garage joists using the metal brackets included in the kit. If the motor assembly is between two joists, or if the garage joists run in the same direction as the rail, fasten a length of 2 X 4 across the joists before mounting the brackets to the 2 X 4.If your garage ceiling is finished, you can hang a 3/4-inch plywood panel from the joists with lag screws. Heavy-duty toggle bolts are used to secure the mounting hardware to the plywood panel.
Step 6: Connect the drawbar to the rail carriage and move it to the closed-door position. Mark and drill the holes for the drawbar mounting screws on the garage door. Insert and tighten the attaching hardware that secures the drawbar to the door after it has been mounted and the holes drilled.
Step 7: Adjust the drive chain or lead screw as needed, paying special attention to the location of the bolts that limit the chain’s travel.
Step8: Install the radio receiver and the manual push button. You can use regular bell wire for the push button, but make sure it is placed where you can see the garage door opener in action when you press it. An optional key switch can also be installed.
Step 9: Connect the drive assembly cord to an extension cord and then to a convenient receptacle. Use the manual push button to start the garage door. Pull the plug from the extension cord several times during the door’s first test rising to ensure that there is no binding and that the lifting action is satisfactory. Make any necessary adjustments using the built-in adjustment provisions.
Step 10: Unplug the extension cord and reconnect the drive assembly line cord to its permanent outlet. Connect the cord to the garage overhead light socket if possible.
You will now be able to perform basic garage-door repairs, whether to the door or the opener. But it’s always recommended to perform such things only when you are an expert
Or a professional. But there is nothing to worry since we Premium Garage Door offers our expert team to do all that for you, so can enjoy and take an advantage of everything a garage door have to offer. We are just a call away.
Find Garage Door Repair Services in Cities Mentioned below:
- Garage Door Repair Ajax
- Garage Door Repair Aurora
- Garage Door Repair Barrie
- Garage Door Repair Brampton
- Garage Door Repair Burlington
- Garage Door Repair Etobicoke
- Garage Door Repair Hamilton
- Garage Door Repair Markham
- Garage Door Repair Milton
- Garage Door Repair Mississauga
- Garage Door Repair Newmarket
- Garage Door Repair North York
- Garage Door Repair Oakville
- Garage Door Repair Oshawa
- Garage Door Repair Pickering
- Garage Door Repair Richmond Hill
- Garage Door Repair Scarborough
- Garage Door Repair Vaughan
- Garage Door Repair Whitby
- Garage Door Repair Woodbridge

CONTACT US
- Premium Garage Doors Inc.
- +1 (888) 311-8031
- [email protected]
- 24/7 - 7 Days a week.
- 467-15 Edgeley Blvd, Concord, ON L4K 4E9
BRANDS
- Chamberlain
- CHI OVERHEAD DOORS
- Liftmaster
- Craftsman
- Wayne Dalton
- PremiumDline®
- Garaga®
SERVICES
- Garage Door Repair
- Garage Door Installation
- Commercial Garage Door
- Panel Replacement
- Aluminium Capping
- Cable Repair
- Spring Repair
- Opener Repair
CONTACT US
- Premium Garage Doors Inc.
- +1 (888) 311-8031
- [email protected]
- 24/7 - 7 Days a week.
Copyright © 2022 Premium Garage Door | Privacy Policy
2 Responses
[…] How to Repair a Garage Door […]
[…] How to Repair a Garage Door Garage doors are an excellent invention for providing storage space as well as some necessary security for your vehicle. With their numerous benefits, they have revolutionised property and become a favourite of many homeowners. Nonetheless, this door brings with it a slew of issues, one of which is repair. […] […]